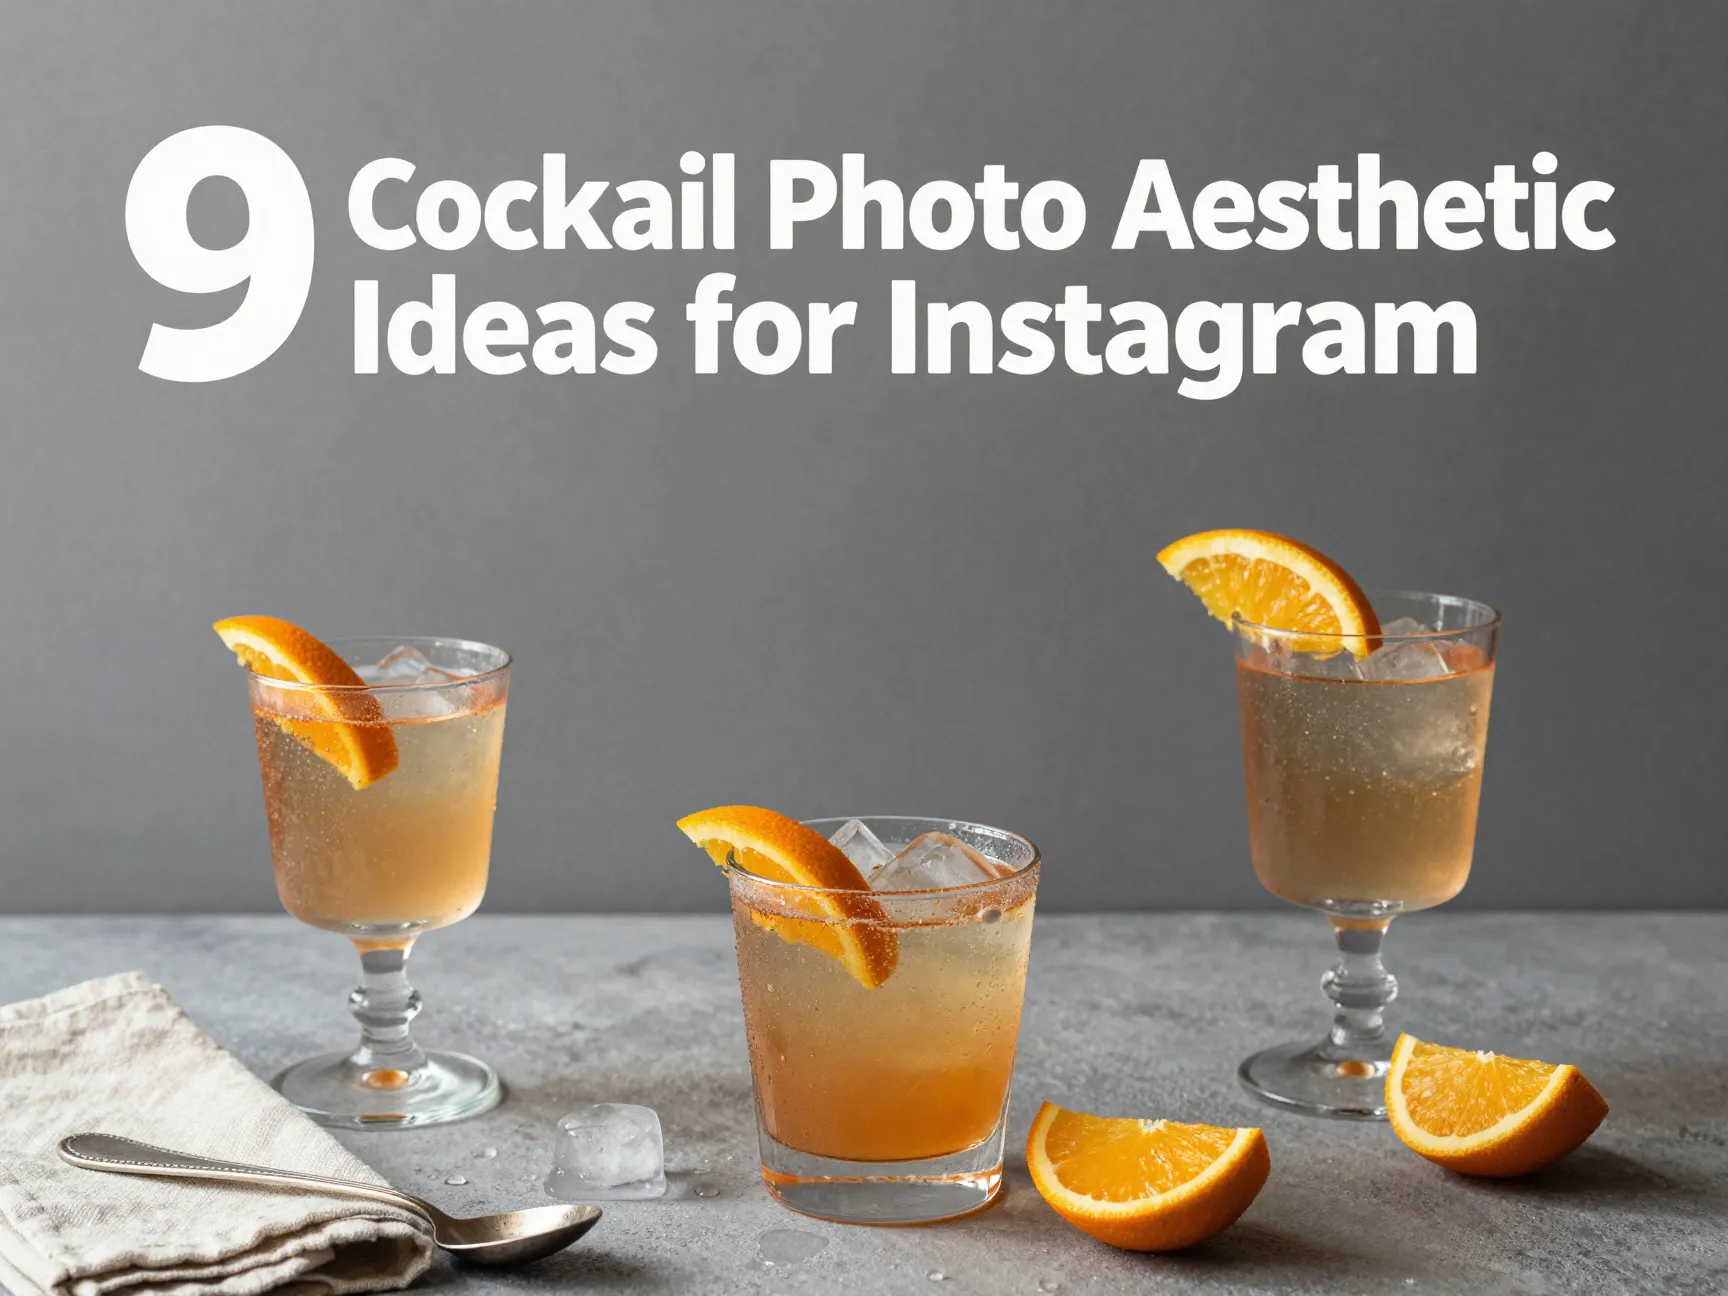
9 Stunning Cocktails Photo Aesthetic Ideas to Level Up Your Instagram Feed
A single cocktail photo posted by a mid-size food influencer in 2023 generated over 2.3 million impressions in 72 hours — not because the drink was rare or expensive, but because the photograph was breathtaking. That kind of reach does not happen by accident. It happens when you understand the visual language of cocktail photography and apply it with intention.
Disclosure: This post contains affiliate links. As an Amazon Associate, we earn from qualifying purchases, and at no extra cost to you.
If you have been posting drink photos that get a polite handful of likes but never break through, these 9 stunning cocktails photo aesthetic ideas to level up your Instagram feed will change how you see — and shoot — every glass you set on a table. From lighting tricks used by professional bar photographers to editing techniques that make jewel-tone colors pop, this guide covers everything you need to transform ordinary drink shots into scroll-stopping content.
Key Takeaways
- Natural side lighting and backlighting are the most powerful tools for making cocktail colors appear vivid and three-dimensional
- Glassware choice directly shapes the mood and character of your photo before you even press the shutter
- Editing vibrance (not saturation) is the professional’s method for enhancing color without making drinks look artificial
- Condensation, bubbles, and frothy tops must be captured immediately after preparation to look fresh and authentic
- Negative space and intentional composition are what separate amateur drink photos from editorial-quality Instagram content
Why Cocktail Aesthetics Matter More Than Ever in 2026
Social media in 2026 is more visually competitive than at any point in its history. Algorithms on Instagram reward saves and shares, and both of those actions are driven almost entirely by visual impact. A beautifully composed cocktail photo does not just attract followers — it builds credibility, drives foot traffic to bars and restaurants, and can turn a home mixologist into a recognizable brand.
The good news is that you do not need a professional studio or a $3,000 camera to achieve stunning results. What you need is a working knowledge of light, composition, color, and detail. The 9 stunning cocktails photo aesthetic ideas to level up your Instagram feed outlined in this article are practical, repeatable, and effective whether you are shooting with a smartphone or a mirrorless camera.
The 9 Stunning Cocktails Photo Aesthetic Ideas to Level Up Your Instagram Feed
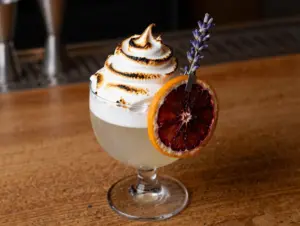
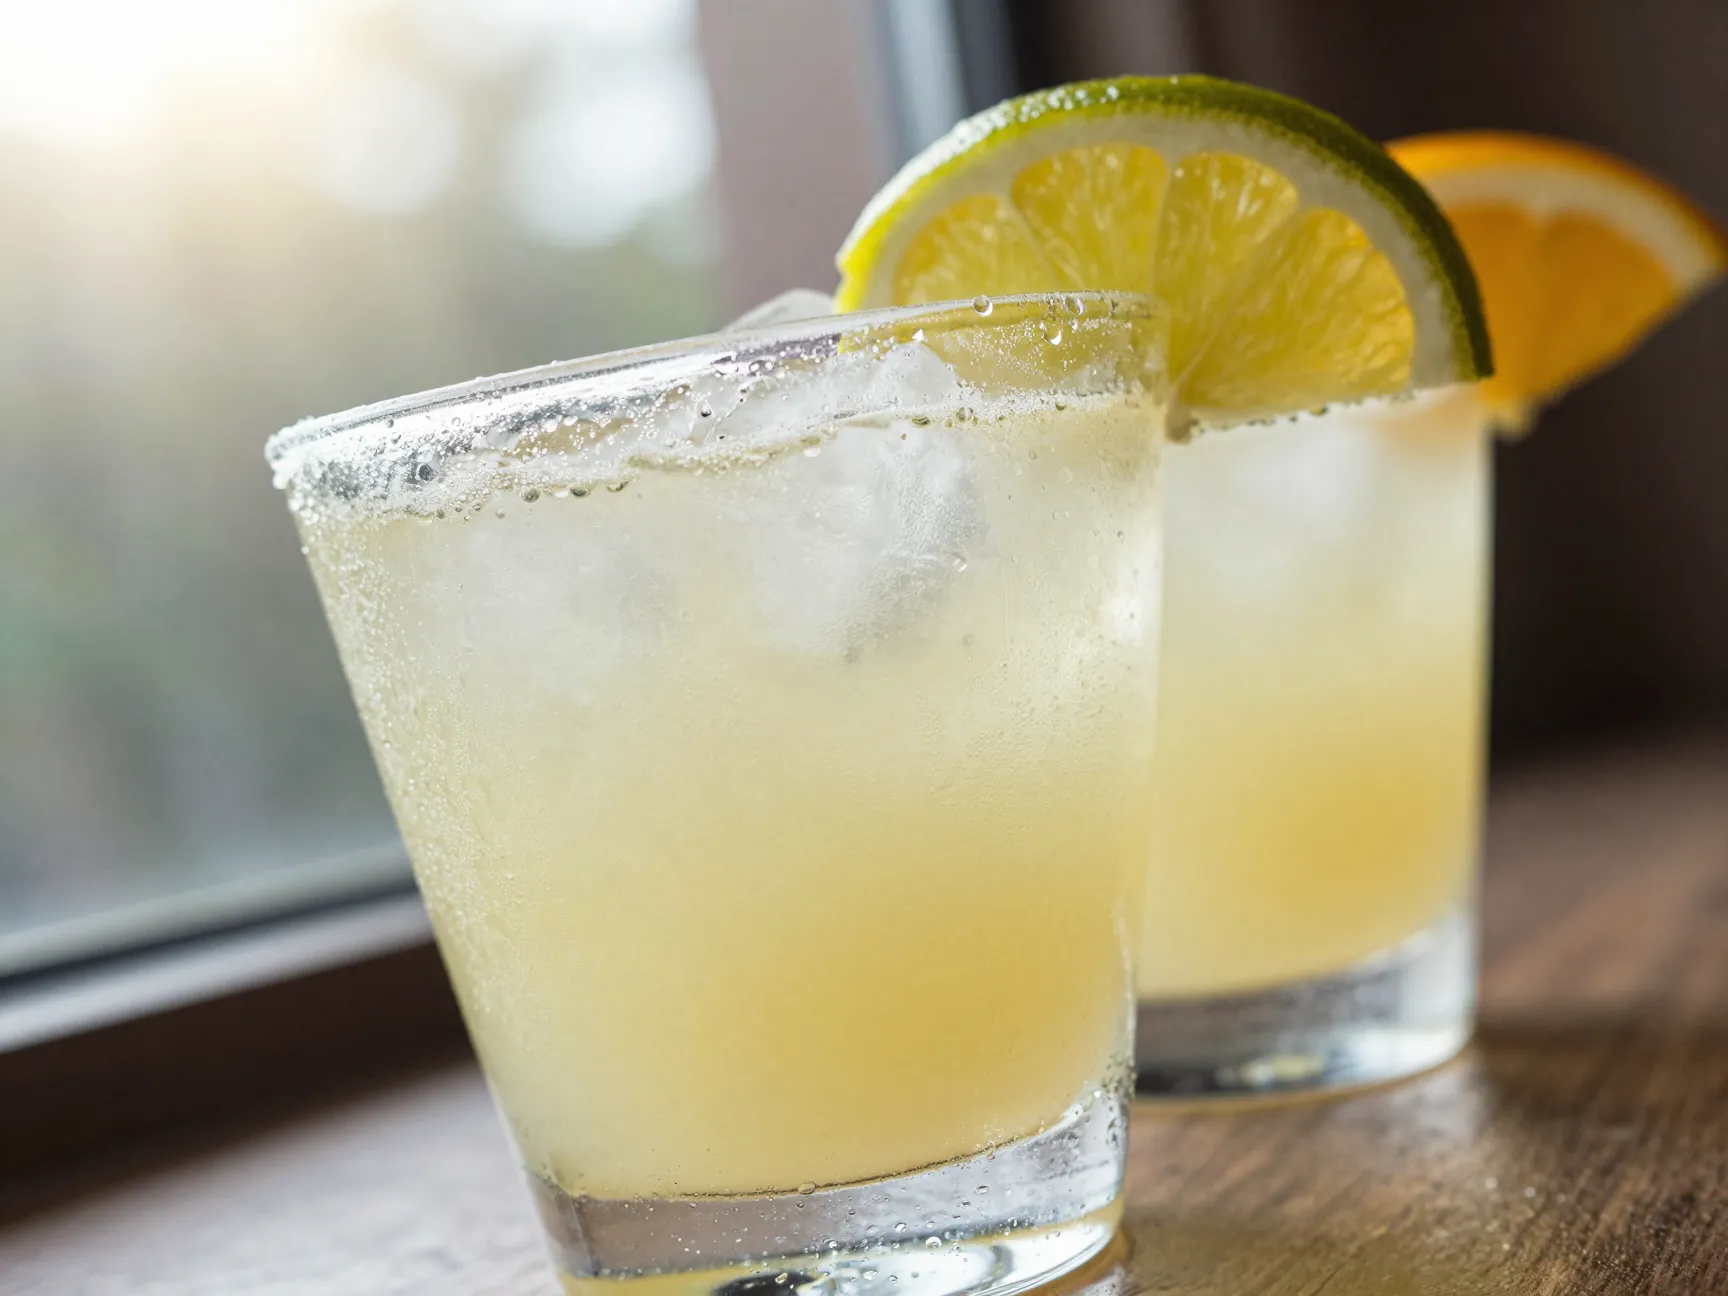
1. Choose Glassware That Tells the Story
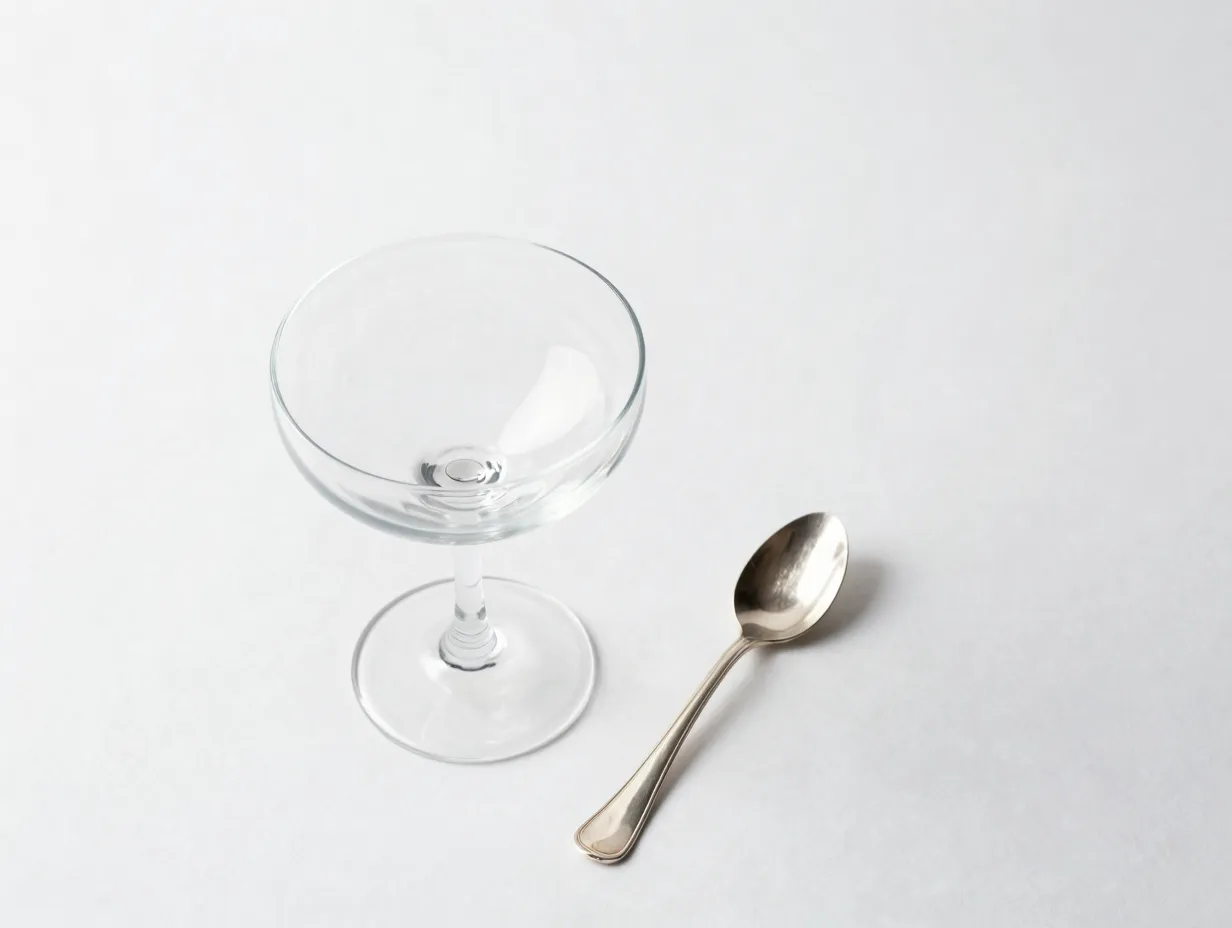
The glass is not just a container — it is the first visual signal your audience receives about the mood of the drink. A coupe glass communicates elegance and sophistication, while a highball glass suggests refreshment and casual summer energy. A rocks glass reads as bold and spirit-forward [1].
Before you pour anything, ask yourself what feeling you want the image to evoke. Then select your glassware accordingly. Mismatched glass-to-drink pairings create visual dissonance that viewers sense even if they cannot name it.
Practical tips for glassware selection:
- Use coupe glasses for classic cocktails like Daiquiris and Sidecars to signal refinement
- Choose tall, slender glasses for effervescent drinks where you want to show off bubbles rising
- Opt for textured or vintage glassware when you want a rustic, handcrafted aesthetic
- Keep a second identical glass nearby as a backup in case of smudges or spills
One thing I learned early in my own cocktail photography practice: the most photogenic glass is almost always the one that feels slightly too formal for the occasion. That slight elevation of expectation is exactly what makes a viewer stop scrolling.
2. Master Natural Window Light Before Anything Else
Lighting is the single most important technical element in any photograph, and cocktail photography is no exception. Natural light from a window — particularly side lighting or backlighting — creates the depth and luminosity that makes a drink look genuinely beautiful rather than flat and dull [2].
Position your drink within one to three feet of a large window. Avoid direct sunlight, which creates harsh hotspots on glass. Overcast days produce the most flattering, even light for cocktails because the clouds act as a natural diffuser.
Side lighting rakes across the glass at a 90-degree angle, creating shadows that give the drink three-dimensional form. Backlighting — placing the light source behind the drink — is particularly effective for translucent cocktails because it illuminates the liquid from within, making colors glow [6].
“Backlighting can make cocktails appear more vibrant by illuminating their colors and textures, especially in dimly lit environments.” — Canon USA [6]
Avoid overhead lighting whenever possible. Overhead lights create unflattering reflections and glare on the curved surfaces of glassware, and they flatten the visual depth that makes a cocktail image compelling [2].
3. Apply the Rule of Thirds and Experiment With Angles
Centering your cocktail in the frame is the most common mistake beginner photographers make. The rule of thirds — dividing your frame into a 3×3 grid and placing your subject at one of the four intersection points — immediately creates more dynamic, visually interesting compositions [2].
Beyond placement, the angle from which you shoot changes everything about how a cocktail reads in a photograph.
| Angle | Best For | Visual Effect |
|---|---|---|
| Overhead (flat lay) | Multiple drinks, styled scenes | Clean, graphic, editorial |
| 45 degrees | Most cocktails | Shows body, garnish, and glass shape |
| Eye level | Tall drinks, layered cocktails | Dramatic, immersive |
| Low angle | Short rocks glasses | Monumental, bold |
The 45-degree angle is the workhorse of cocktail photography because it captures the drink’s body, the garnish on top, and the shape of the glass all in a single frame [2]. I use this angle as my default and only deviate when the specific drink or styling calls for something different.
For overhead flat-lay shots, arrange multiple drinks, bar tools, and garnishes in a deliberate pattern. The flat-lay format performs exceptionally well on Instagram because it translates perfectly to both square and portrait crop formats [9].
4. Use Negative Space to Let the Cocktail Breathe
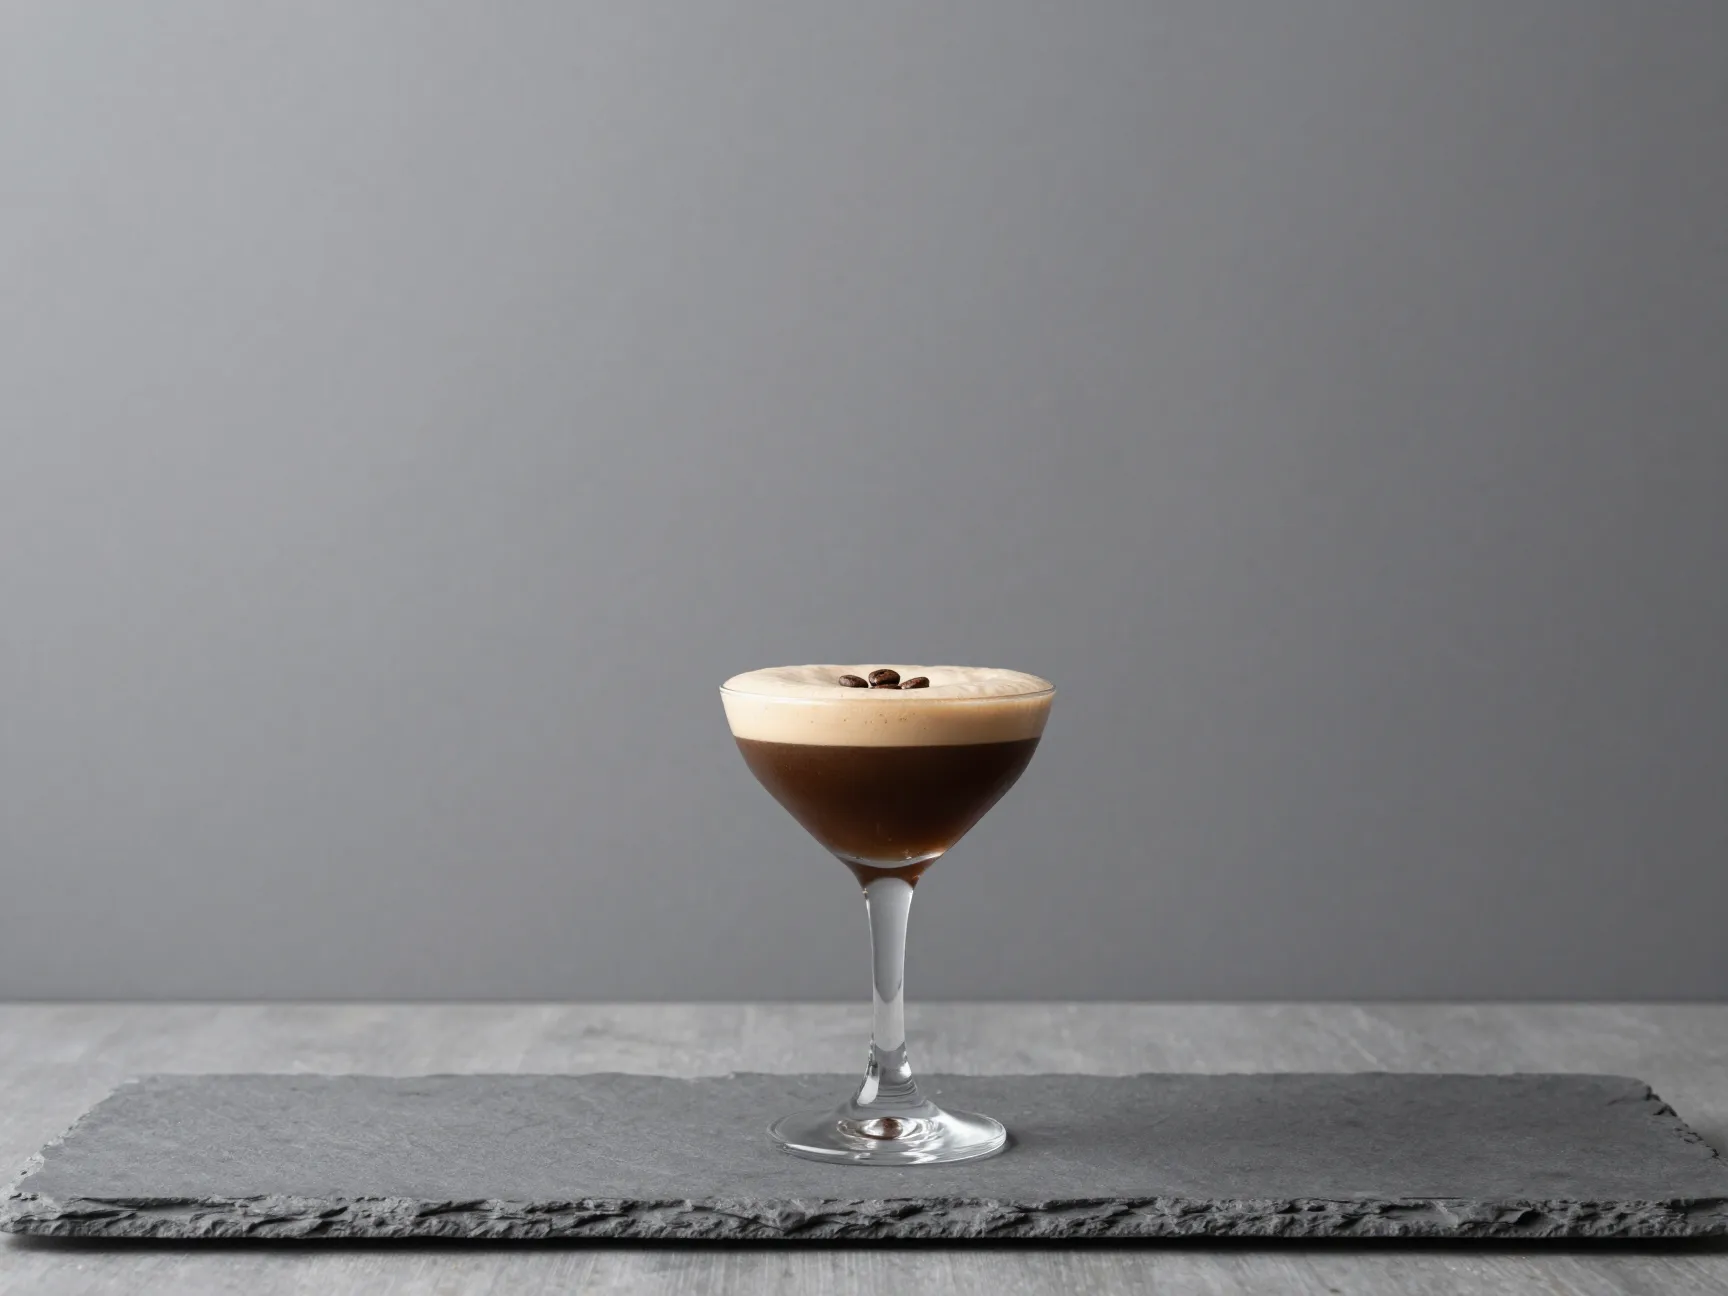
Negative space is one of the most underused tools in food and drink photography. It refers to the intentional empty areas in the frame — the plain background, the unmarked table surface, the blank wall — that surround your subject without competing with it [2].
When you strip away visual clutter and leave generous empty space around your cocktail, a few things happen simultaneously. The drink becomes the undisputed focal point. The image feels modern and confident. And the viewer’s eye has nowhere to travel except directly to what you want them to see.
How to use negative space effectively:
- Choose backgrounds in a single muted tone — slate gray, warm white, deep charcoal, or natural wood
- Remove any props that do not directly contribute to the story the image is telling
- Position the cocktail in the lower third of the frame, leaving open sky or background above
- Resist the urge to fill every corner of the frame with something interesting
This technique works especially well for minimalist brand aesthetics and for accounts that want to project a premium, high-end identity.
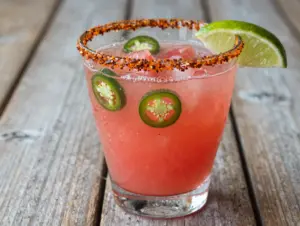
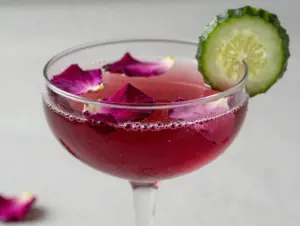
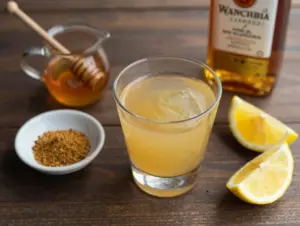
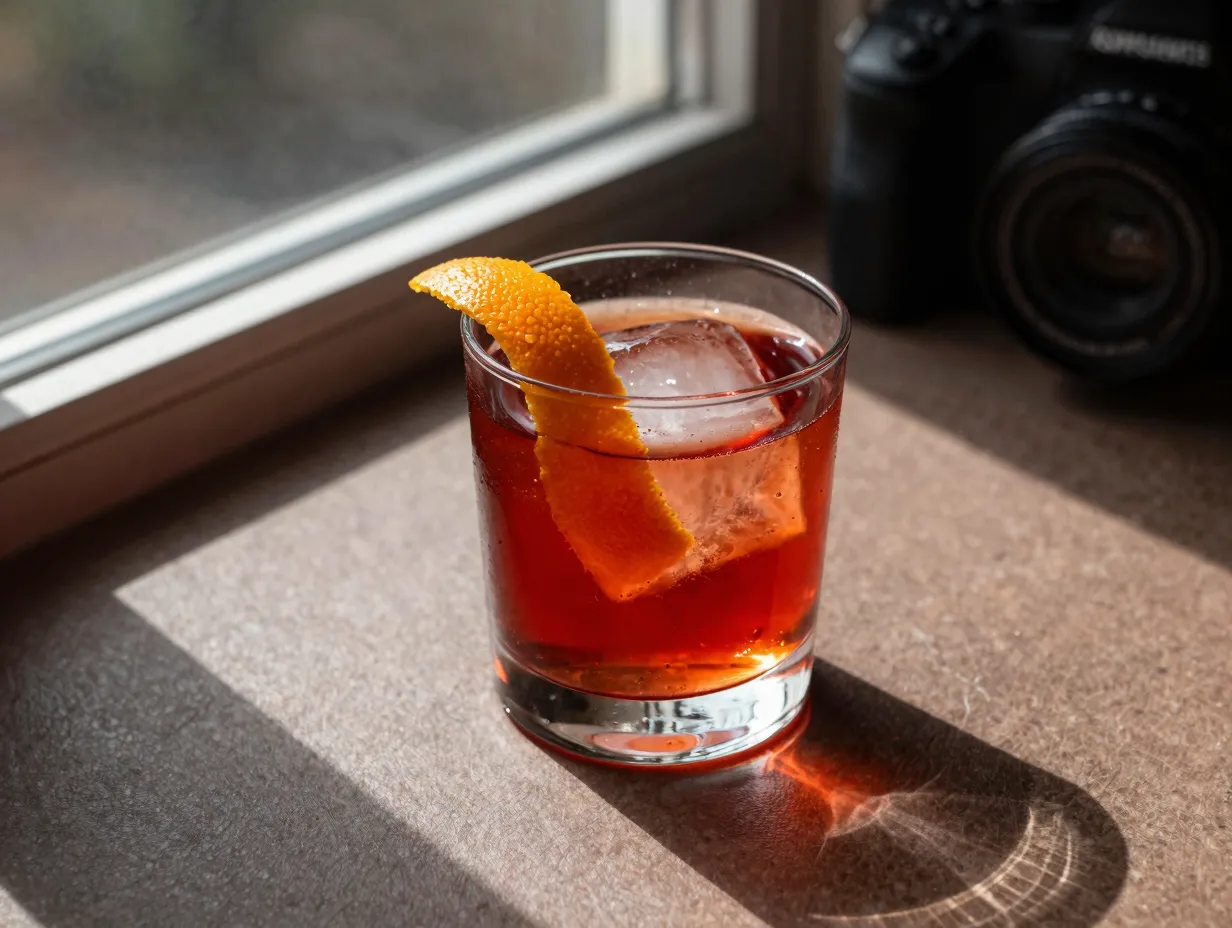
5. Style With Props That Add Context Without Clutter

Props are supporting actors, not co-stars. The right prop adds context, texture, and narrative depth to a cocktail photo. The wrong prop — or too many of them — turns a beautiful image into a chaotic mess [4].
Props that consistently work well:
- Fresh citrus halves or peels that echo the garnish in the drink
- A vintage cocktail jigger or bar spoon placed casually at the edge of the frame
- Linen or linen-textured napkins in neutral tones
- Raw ingredients like whole spices, herbs, or fruit that hint at what is in the glass
- Ice cubes or a small ice bucket for cold-weather drinks
Props to avoid:
- Branded items that distract from the drink itself
- Overly colorful or patterned backgrounds that compete with the cocktail’s color
- Too many elements that require the viewer’s eye to work overtime
I once styled a Negroni shot with a small leather-bound notebook and a single matchbook beside the glass. The props said “end of a long day” without a single word of caption. That image became one of my most-saved posts of the year.
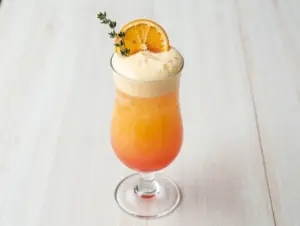
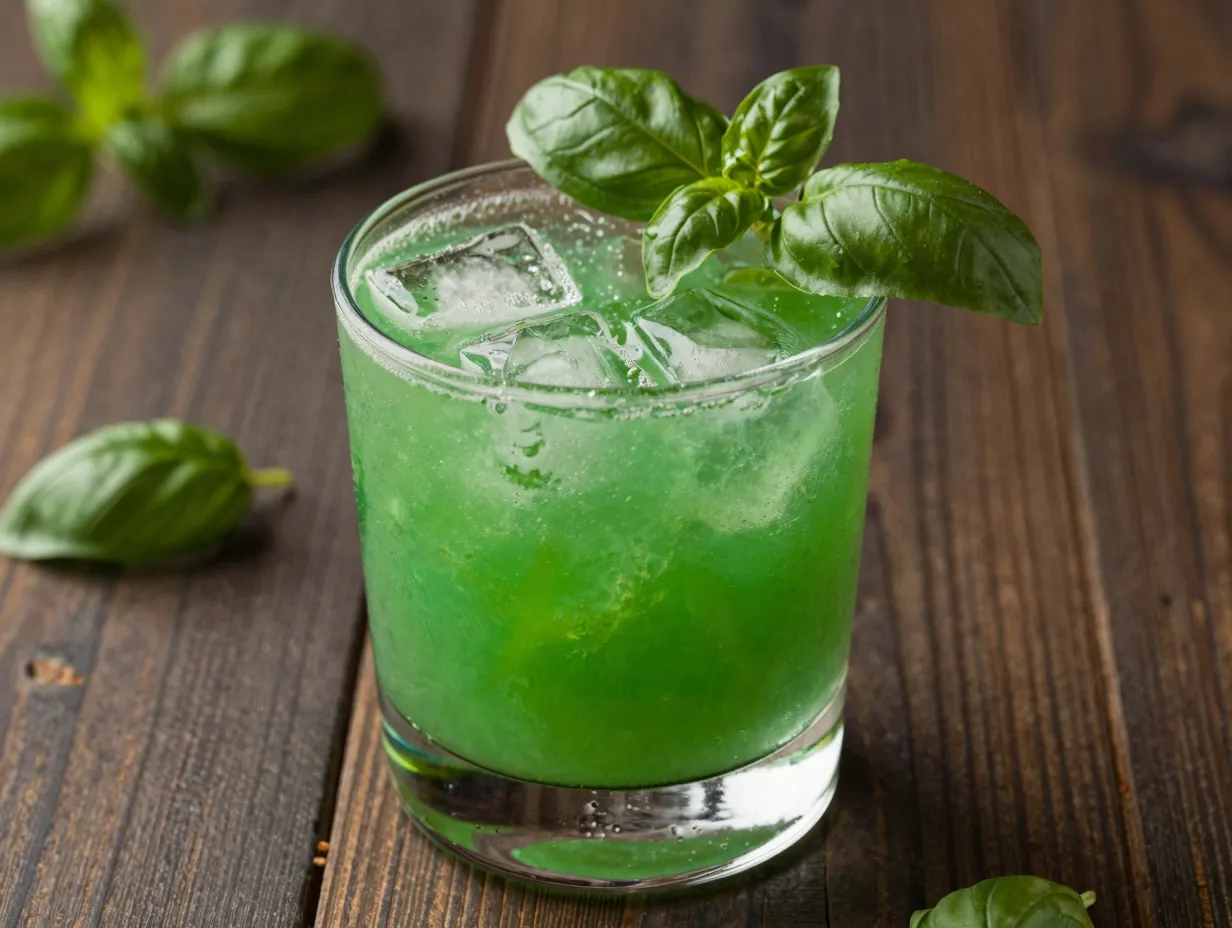
6. Capture Condensation and Bubbles at the Right Moment
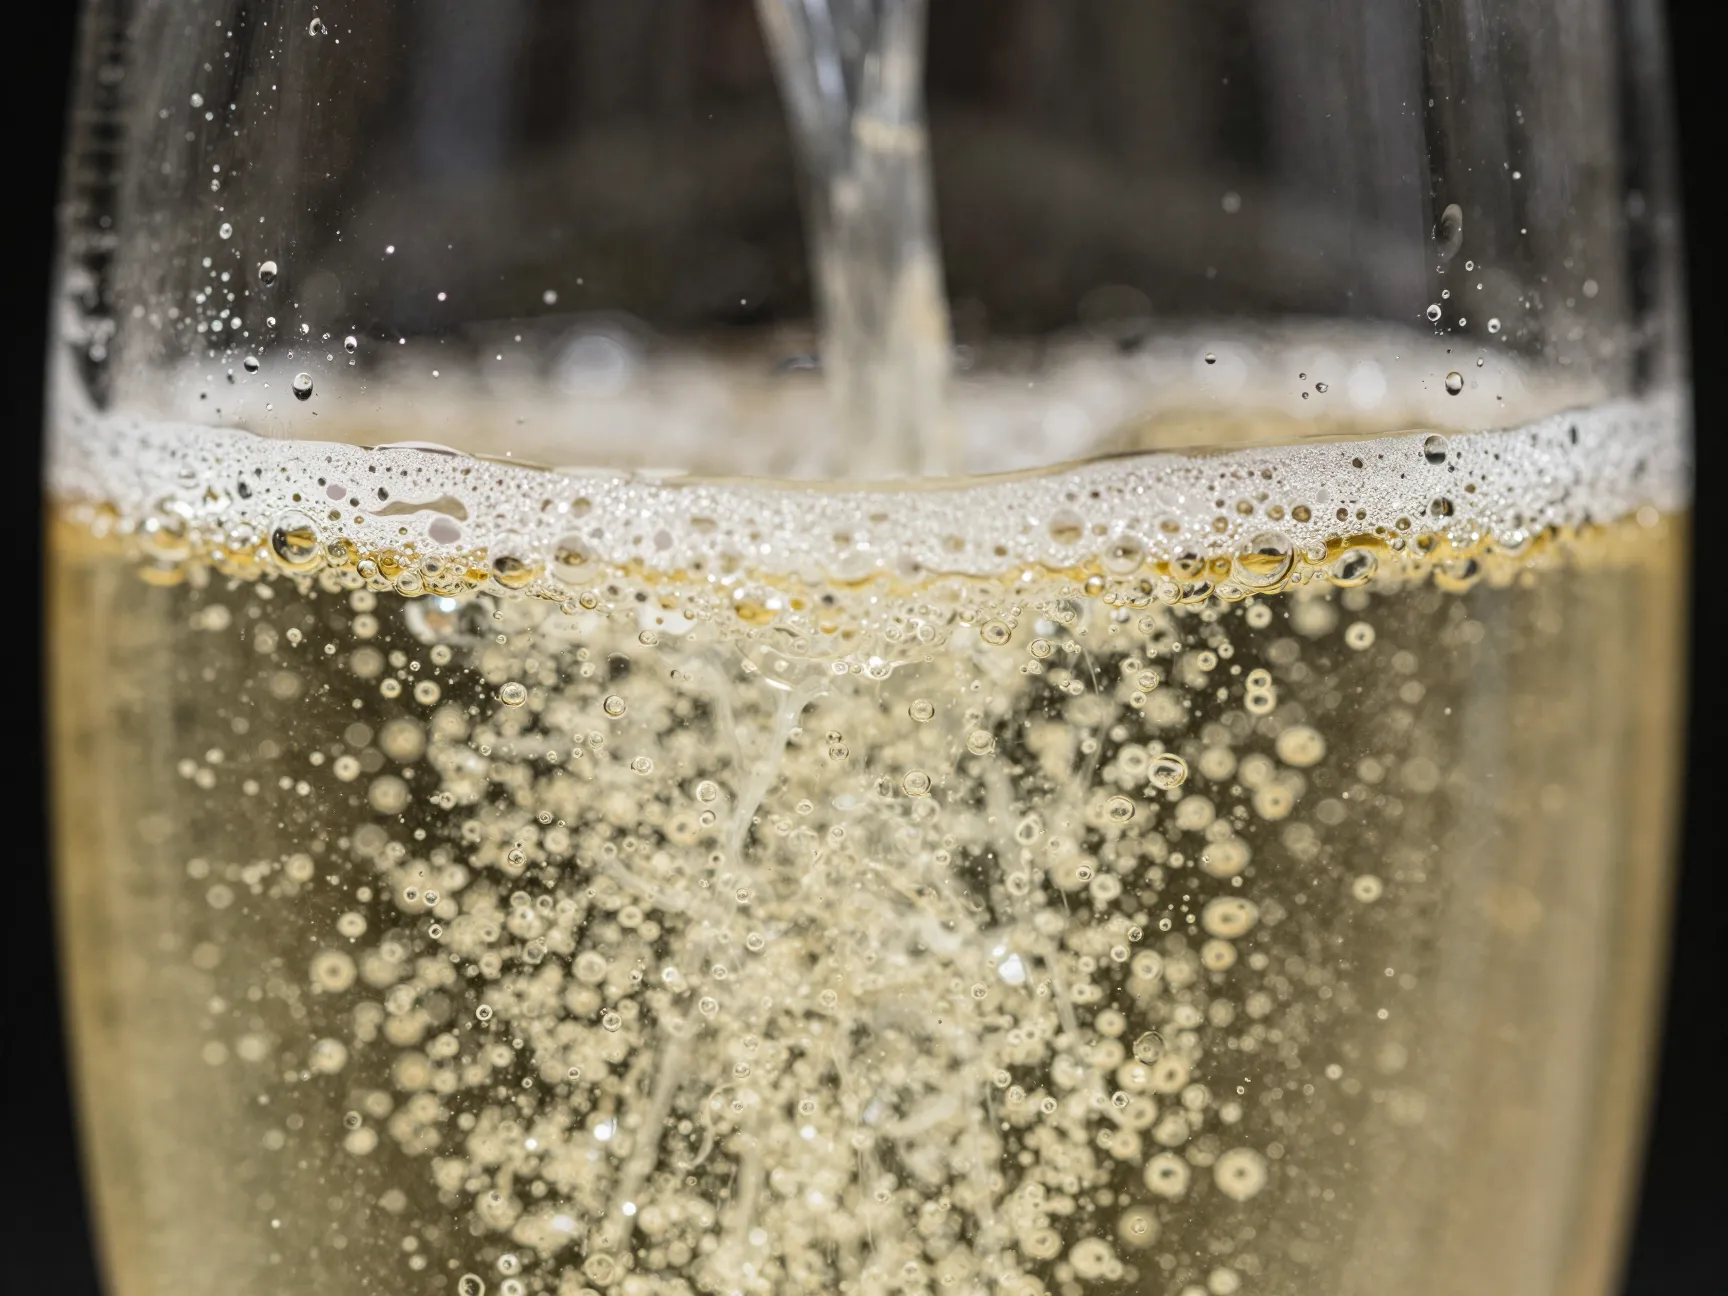
Freshness is one of the most powerful signals a cocktail photograph can communicate. Condensation on the outside of a cold glass, bubbles rising through a sparkling drink, or a frothy top on a shaken cocktail — these details tell the viewer that this drink was made moments ago and is waiting for them [7].
The challenge is that these elements are fleeting. Condensation forms quickly but can also cause water pooling on your surface. Bubbles dissipate within minutes. A frothy egg-white top begins to settle almost immediately.
Strategies for capturing freshness:
- Have your camera settings, framing, and lighting fully prepared before you pour the drink
- Shoot within the first 60 to 90 seconds after preparation for maximum bubble and foam activity
- For condensation, chill your glass in the freezer for 10 minutes before pouring, then move it immediately to a warm environment
- Use a fine misting spray bottle to add condensation to a glass that has been sitting too long [5]
The difference between a cocktail that looks alive and one that looks like a prop is almost always captured in that first minute after the drink is made.
7. Keep Glassware Spotless — It Shows More Than You Think
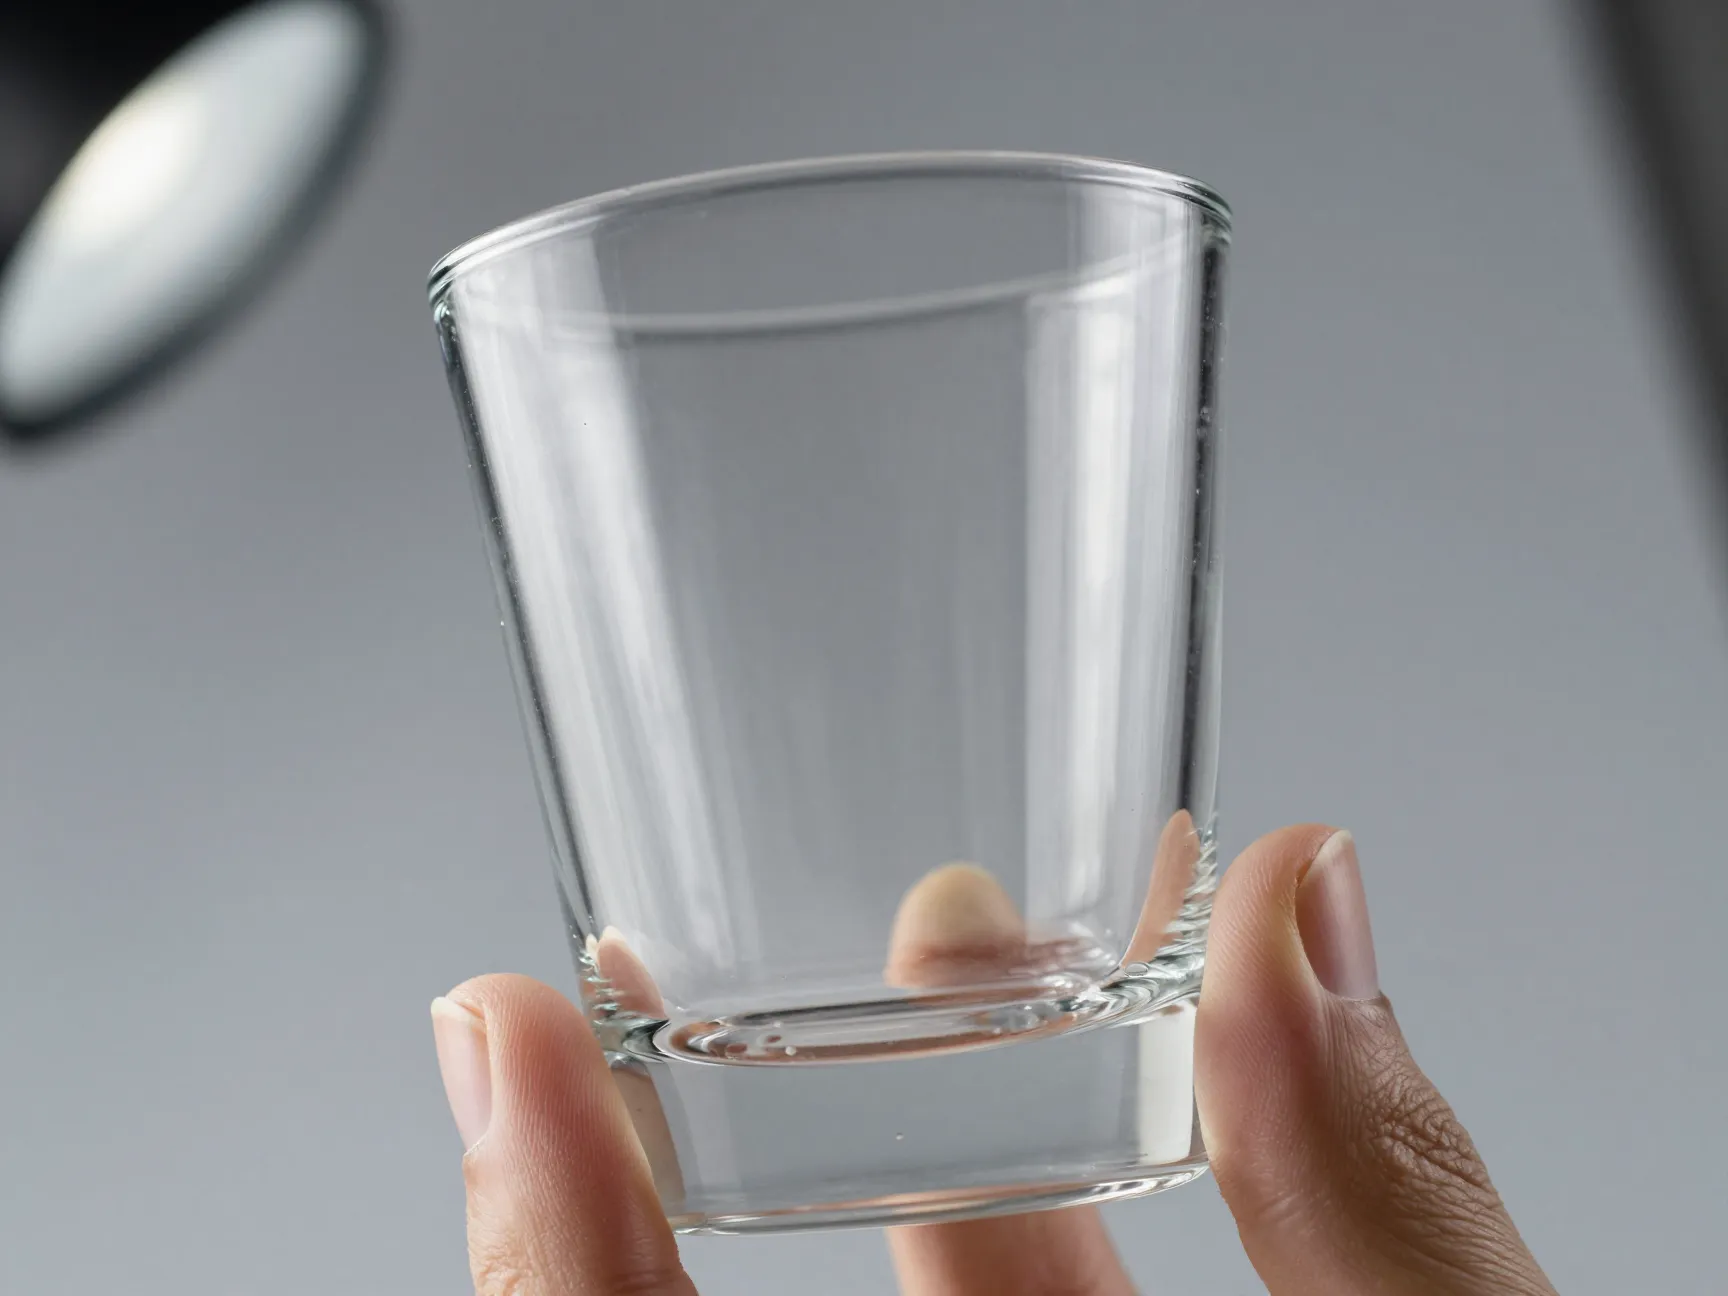
This point sounds obvious, but it is one of the most commonly overlooked details in cocktail photography, particularly among beginners. A single fingerprint or smudge on a glass, invisible to the naked eye in normal lighting, becomes glaringly obvious the moment a side light or backlight hits the surface [5].
Before every shoot, clean your glassware with a lint-free microfiber cloth. Hold the glass up to your light source and rotate it slowly, checking every angle for smudges, water spots, or residue. Polish the base and stem as well as the bowl — all of it will be visible in the final image.
Glassware care checklist before shooting:
- Wash with hot water and a small amount of dish soap, then rinse thoroughly
- Dry immediately with a clean, lint-free cloth to prevent water spots
- Handle only by the base when positioning for the shot
- Check under your actual shooting light, not room light, before finalizing the frame
This single habit — checking glassware under the shooting light before pressing the shutter — has saved me from deleting dozens of otherwise perfect shots.
8. Edit for Jewel-Tone Colors, Not Neon Brightness
Post-processing is where good cocktail photos become great ones. The goal of editing cocktail images is to enhance the drink’s natural colors — the amber of aged whiskey, the ruby of a Campari-based drink, the emerald of a fresh herb-infused gin cocktail — until they look rich and true without crossing into artificial neon territory [3].
Core editing adjustments for cocktail photography:
- White balance: Set your color temperature between 4,000 and 4,500K to neutralize warm artificial tones and let the drink’s actual color read accurately [3]
- Vibrance: Increase vibrance by 15 to 25 points. Vibrance boosts undersaturated colors selectively, which means it enhances the drink without blowing out already-saturated elements [3]
- Saturation: Use sparingly — a boost of 5 to 10 points maximum. Over-saturation is the most common editing mistake in food and drink photography [3]
- Highlights: Pull highlights down slightly on glassware to recover detail in bright reflections
- Shadows: Lift shadows gently to reveal detail in the darker areas of the drink without flattening the overall contrast
The distinction between vibrance and saturation is one that separates professional-looking edits from amateur ones. Saturation increases all colors equally and aggressively. Vibrance is surgical — it finds the colors that need help and lifts them without touching the ones that are already strong.
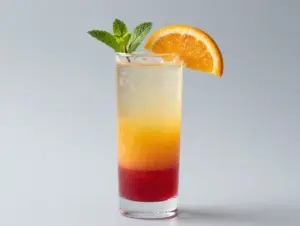
9. Use Backlighting to Make Colors Glow From Within
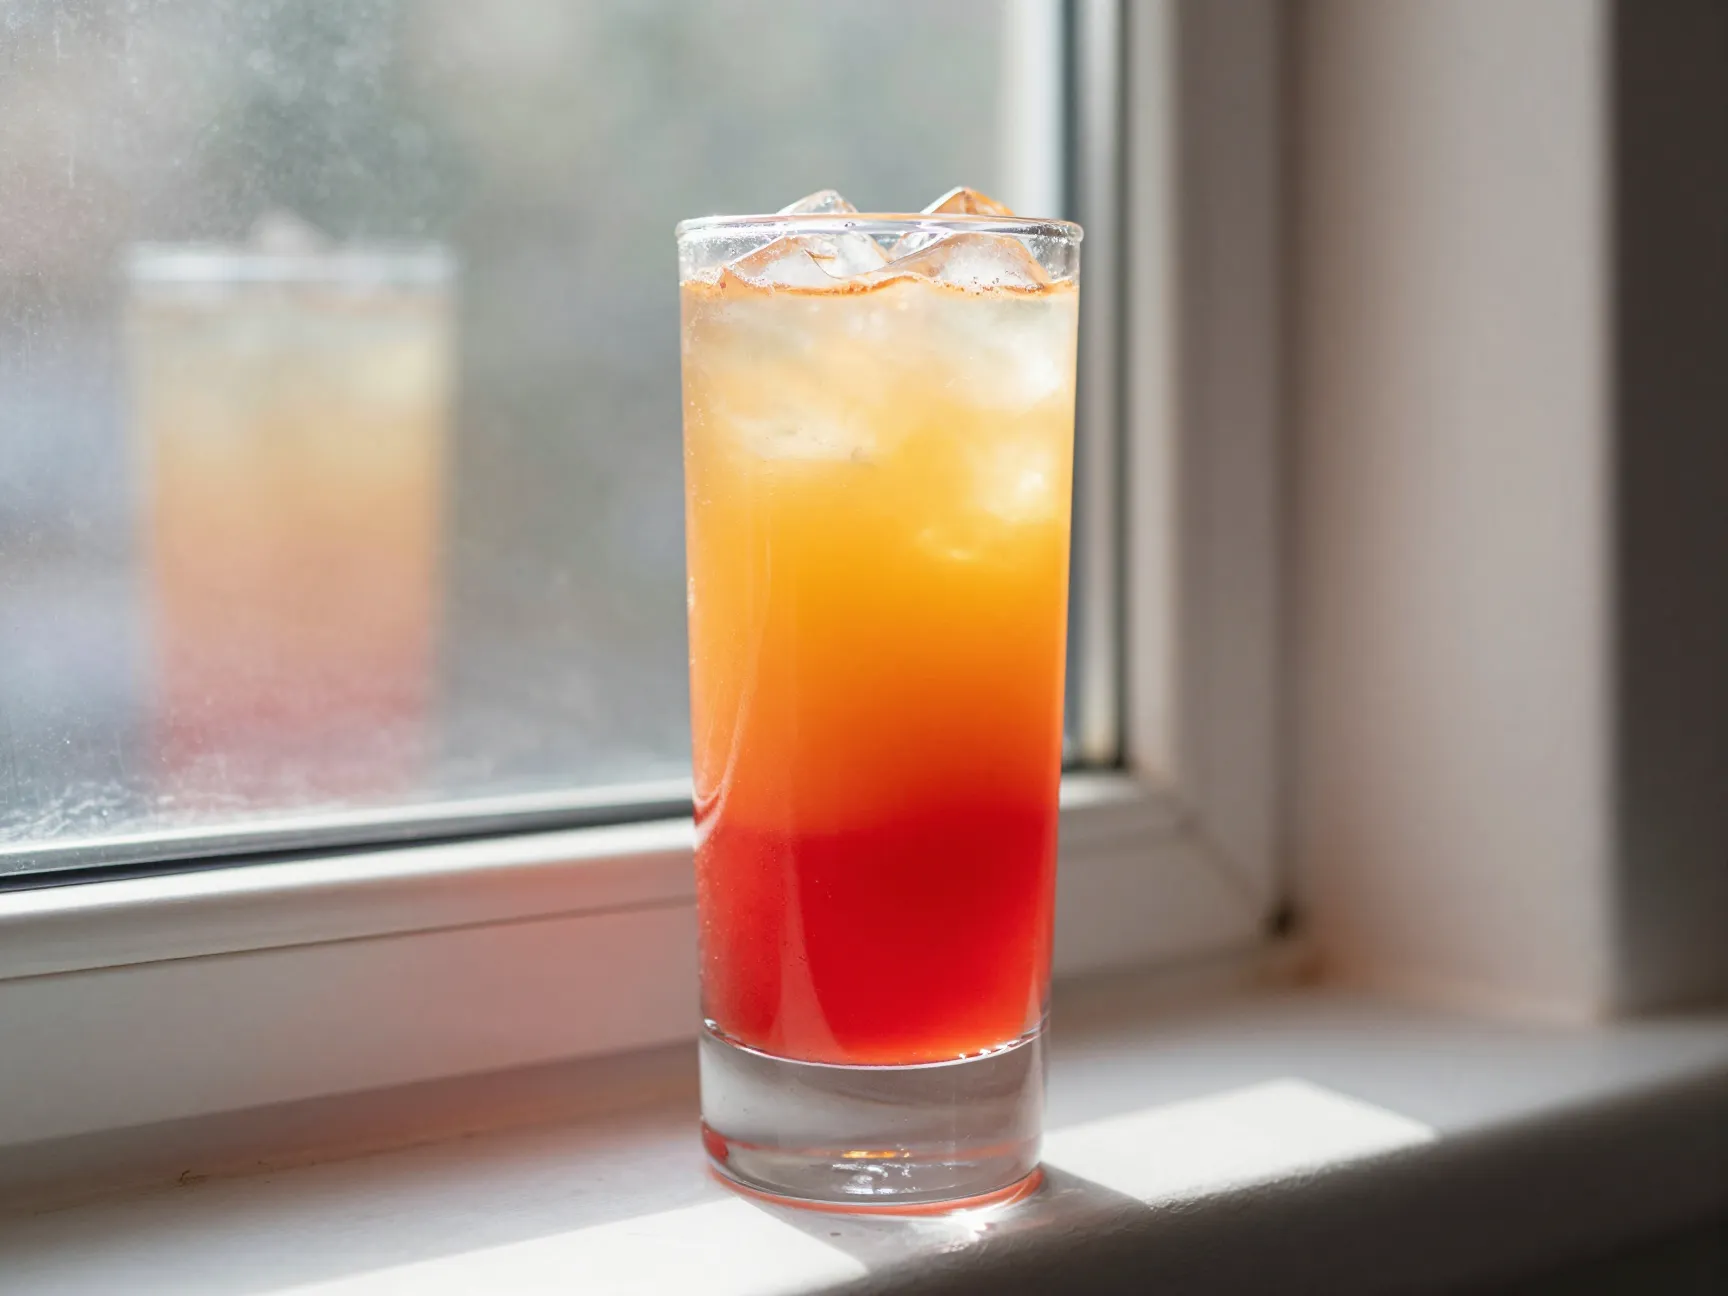
Backlighting deserves its own dedicated section because it is the single technique most likely to transform your cocktail photography overnight. When light passes through a translucent liquid from behind, it illuminates the color in a way that front or side lighting simply cannot replicate [6].
Think of the difference between looking at a stained-glass window from the outside versus from the inside with sunlight pouring through it. That is what backlighting does to a well-made cocktail.
How to set up backlighting for cocktails:
- Place your light source — a window, a continuous LED panel, or a speed light bounced off a white card — directly behind the drink
- Position yourself and your camera on the opposite side, shooting toward the light
- Use a lens hood or flag to prevent lens flare from entering the frame directly
- Adjust your exposure so the drink is correctly exposed, even if the background blows out slightly
Backlighting works best with cocktails that have genuine color depth — a Aperol Spritz, a Tequila Sunrise, a Blue Lagoon, or any drink with layered colors. It also works beautifully with ice-filled glasses, where the light refracts through the ice and creates prismatic effects that look extraordinary in photographs [6].
Bringing the 9 Stunning Cocktails Photo Aesthetic Ideas Together
Understanding each of these techniques individually is valuable. Applying them in combination is where the real transformation happens. A typical high-performing cocktail post on Instagram in 2026 is the result of at least five or six of these principles working together simultaneously.
Here is a practical workflow that combines all nine ideas into a single shooting session:
Pre-shoot preparation:
- Select and polish glassware appropriate to the drink’s character
- Set up your background and props, removing anything that does not serve the image
- Position your light source — ideally a window — for side or backlighting
- Frame your shot using the rule of thirds, choosing your angle deliberately
During the shoot:
- Pour the drink and shoot immediately to capture condensation and bubbles
- Handle the glass only by the base to avoid new fingerprints
- Take multiple frames at slightly different angles and distances
Post-processing:
- Adjust white balance to 4,000 to 4,500K
- Boost vibrance 15 to 25 points, saturation 5 to 10 points maximum
- Pull highlights, lift shadows, and check that jewel-tone colors look rich rather than neon
This workflow takes approximately 15 to 20 minutes once you have practiced it a few times. The results are consistently stronger than anything produced by a quick, unconsidered snap.
Conclusion
The gap between a forgettable cocktail photo and a genuinely stunning one is not equipment or budget — it is knowledge and intention. The 9 stunning cocktails photo aesthetic ideas to level up your Instagram feed covered in this article give you a complete framework for approaching every drink photograph with confidence and purpose.
Start with one or two of these techniques in your next session rather than trying to implement all nine at once. Master natural window lighting first — it costs nothing and delivers immediate, dramatic results. Then layer in glassware selection, composition principles, and editing refinements as each becomes second nature.
Your actionable next steps:
- Identify the best natural light source in your home or workspace and practice positioning drinks near it this week
- Clean and polish two or three different glass types and compare how each changes the mood of the same drink
- Download a free photo editing app and practice the vibrance-over-saturation adjustment on three existing cocktail photos
- Review your last ten cocktail posts and identify which of the nine principles were missing from each image
The most successful cocktail photographers on Instagram in 2026 are not the ones with the most expensive gear. They are the ones who understand light, composition, and color deeply enough to make every shot feel intentional. That understanding is now yours to use.
References
[1] Cocktail Photography – https://www.caspa.ai/blog/cocktail-photography?utm_source=openai
[2] How To Photograph Cocktails For Social Media – https://www.thedrinkjournal.com/journal/how-to-photograph-cocktails-for-social-media?utm_source=openai
[3] Cocktail Photography – https://foodshot.ai/blog/cocktail-photography?utm_source=openai
[4] A Beginners Guide To Cocktail Photography In Nyc – https://www.artofthecocktail.com/cocktail-craft/a-beginners-guide-to-cocktail-photography-in-nyc?utm_source=openai
[5] 7 Tips For Better Cocktail Photography – https://www.smartblend.co.uk/blog/7-tips-for-better-cocktail-photography?utm_source=openai
[6] Cocktail Photography 101 – https://www.usa.canon.com/learning/training-articles/training-articles-list/cocktail-photography-101?utm_source=openai
[7] Cocktail Photography Tips – https://www.shutterstock.com/blog/cocktail-photography-tips?utm_source=openai
[9] Overhead Flat Lay – https://foodphoto.ai/photography-guide/cocktails/overhead-flat-lay?utm_source=openai